How to Use Gradients
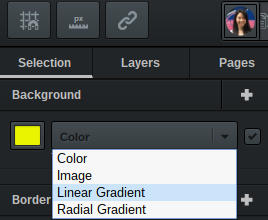
In the Vectr editor, the background filter has gradient options in the drop-down menu. But what exactly are gradients, and how do you use them? Read on in this tutorial to find out.
What Are Gradients?
Gradients refer to a range of seamlessly blended colors (usually two or more) that fill a space. They are typically used to add depth, color, or a metallic look to an object. Vectr has two types of gradients: linear and radial.
Types of Gradients
Linear Gradient. A linear gradient starts at one point and changes along a straight line to the endpoint. The direction of linear gradients can be up/down, left/right, or diagonal.

Radial Gradient. A radial gradient starts from a central point and radiates outwards towards the outer endpoint.

Editing Gradients in Shapes
Both linear and radial gradients are edited the same way. For this tutorial, let’s recreate this image with a linear gradient:

Create a rectangle. Select the rectangle tool from the toolbar (on the right of the workspace), and click in the board (middle of the workspace). Adjust the size of the rectangle to your preference. To do this, double click on the rectangle for its control points. Click and drag a control point to adjust its size. Remember, holding down the shift key while dragging maintains a shape’s proportions.

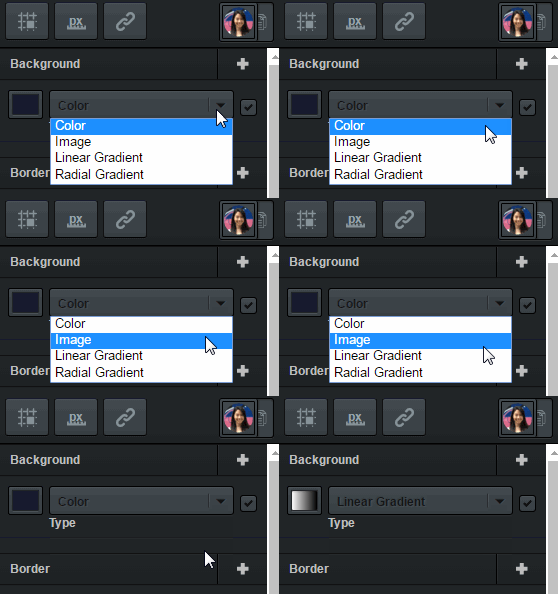
Apply a linear gradient. Once a rectangle is created, filters in the editor (right of the workspace) will appear. Choose the linear gradient background type from the dropdown menu underneath the background filter.
Adjust color stops. By default, two color endpoints (white and black) will appear in the rectangle at the top and bottom. Select the top color stop and change it to yellow. Then select the bottom color stop and change it to blue.
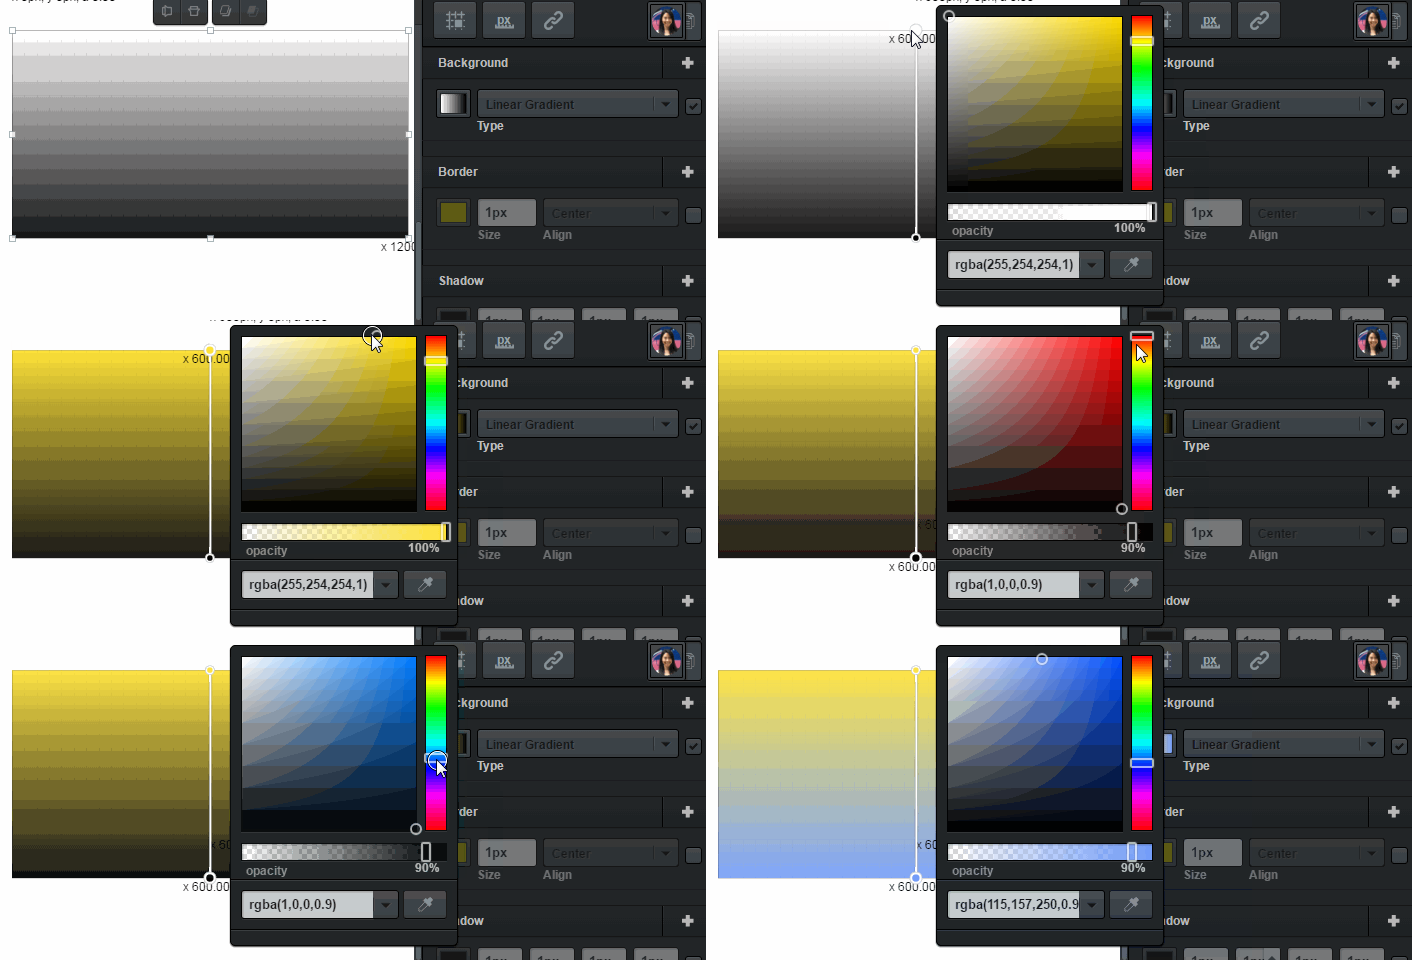
Add a color stop. Add as many color stops as you want anywhere between the two end points. Add one more color stop in the middle by clicking on the line connecting the top end points. You can adjust the middle color stop the same way you adjust the color endpoints. Change the middle color stop to green.
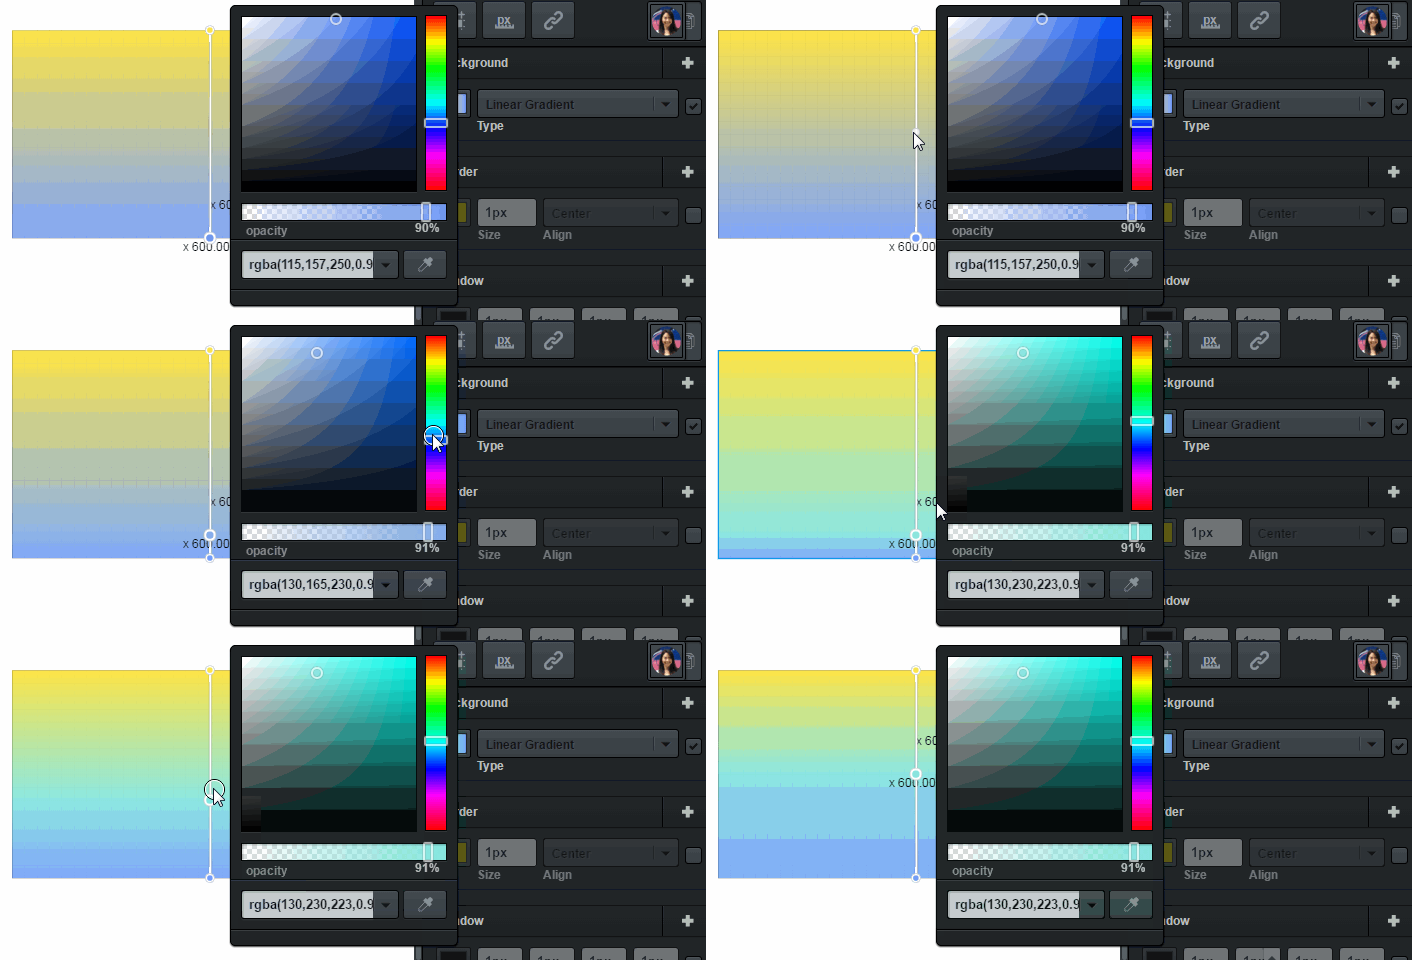
Pat yourself on the back. Fantastic job! You’ve just applied a linear gradient to a shape. Now take it to the next level and apply a radial gradient. The steps are quite similar. You can do it!

You can also check out an interactive tutorial on gradients over here:
Editing Gradients in Text
We’re in the process of developing gradients for text! It’ll be a feature coming in the near future, so keep an eye out for our updates. Once the feature is released, we’ll update this tutorial 
Let us know if this has been helpful! We love hearing your feedback. Remember, you can also Request a Tutorial Here! 

